Accessorise with Style: How to Make Knitted Scrunchies at Home
Did you know handmade hair accessories are an easy and fun craft project to do at home? Read this blog to learn more about how you can make DIY scrunchies and more!
Are you tired of the same old hair accessories? Do you want to add a personal touch to your style? Look no further than
knitted scrunchies! These fun and trendy hair accessories are easy to make at home with just a few simple steps. In this blog, we will show you how to make two different types of knitted scrunchies - a basic garter stitch scrunchie and a fancier lace stitch scrunchie. Let's get started!
Materials Needed
To make these DIY scrunchies, you will need the following materials:
- Yarn in your choice of colour and weight (we recommend using a cotton or acrylic yarn)
- Knitting needles (size 7 or 8)
- Elastic hair tie
- Scissors
- Tapestry needle
Basic Garter Stitch Scrunchie
Knitting is an excellent hobby that not only relieves stress but also lets you create something beautiful and useful. One of the best things to make as a beginner is a basic garter stitch scrunchie. It's an easy and fun way to practice your knitting skills while making a stylish homemade hair accessory!
Step 1: Cast On
To begin, cast on 40 stitches using your chosen yarn and knitting needles. If you're new to knitting, there are plenty of online resources that can teach you how to cast on. You can also find a variety of beginner knitting kits that come with all the supplies and instructions you need.
Step 2: Knit
Once you've cast on your stitches, it's time to start knitting. For a garter stitch scrunchie, you'll simply knit every stitch in every row until your piece measures approximately 12 inches in length. This is a great opportunity to practice your knitting skills and develop your technique.
Step 3: Bind Off
Once your piece has reached the desired length, it's time to bind off your stitches. Binding off is the process of finishing your knitting and securing the stitches so they don't unravel. There are different ways to bind off depending on the project, but for a basic garter stitch scrunchie, a simple bind off will do.
Step 4: Gather the Fabric
After you've bound off your stitches, you will have a long strip of knitted fabric. To turn it into a scrunchie, you need to gather the fabric. Using a tapestry needle, thread the yarn through the stitches on your knitting needle and pull tight to gather the fabric. Make sure to gather it evenly so that the scrunchie looks neat and tidy.
Step 5: Cover the Elastic Hair Tie
Once you've gathered the fabric, it's time to cover the elastic hair tie. Wrap the fabric around the hair tie, making sure to cover it completely. Use the long tail of yarn to sew the ends of the fabric together, hiding the seam as much as possible. You can also use a hot glue gun to attach the fabric to the hair tie.
Step 6: Finishing Touches
Finally, weave in any remaining ends of yarn and trim them. You can also add some embellishments, such as beads or buttons, to personalise your scrunchie and make it unique.
Lace Stitch Scrunchie
If you're looking for a fancier DIY scrunchie, try making a lace stitch scrunchie. This scrunchie has a delicate lace pattern that adds a touch of elegance to any hairstyle.
Step 1: Choose your Yarn and Needles
To make a lace stitch scrunchie, choose a lightweight and soft yarn that will complement the delicate lace pattern. You can choose any colour that you like, but lighter colours will show the lace pattern more clearly. For this project, you'll need a pair of knitting needles in a size appropriate for your yarn.
Step 2: Cast on Stitches
Cast on 32 stitches using your chosen yarn and knitting needles. Make sure to cast on loosely, so that your scrunchie will stretch easily when you wrap it around your hair.
Step 3: Start the Lace Stitch Pattern
To create the lace stitch pattern, follow this pattern for each row:
- Knit two stitches
- Yarn over
- Knit two stitches together
- Repeat this pattern across the entire row.
Step 4: Purl the Next Row
Once you've completed a row of the lace stitch pattern, purl the next row. Purling will create a smooth row that will help define the lace pattern.
Step 5: Repeat the Lace Stitch Pattern
After you've purled the second row, return to the lace stitch pattern for the next row:
- Knit one stitch
- Yarn over
- Knit two stitches together
- Repeat this pattern across the entire row.
Step 6: Continue the Pattern
Continue alternating between the lace stitch pattern and a purl row until your piece measures approximately 12 inches in length. The lace pattern will start to emerge as you knit more rows.
Step 7: Bind Off
Once your piece is the desired length, bind off your stitches and cut the yarn, leaving a long tail.
Step 8: Gather the Fabric
Using a tapestry needle, thread the yarn through the stitches on your knitting needle and pull tight to gather the fabric. Make sure to gather the fabric tightly so that it will fit snugly around your hair tie.
Step 9: Cover the Elastic
Wrap the fabric around your elastic hair tie, making sure to cover it completely. Use the long tail of yarn to sew the ends of the fabric together, hiding the seam as much as possible.
Step 10: Finish
Weave in any remaining ends of yarn and trim. Your lace stitch scrunchie is now complete and ready to be worn with any hairstyle for a touch of elegance.
Variation: Two-Colour Lace Stitch Scrunchie
If you want to add more colour to your lace stitch scrunchie, try making a two-colour version. Choose two contrasting colours of yarn and follow the same pattern as above, but alternate between the two colours every two rows. This will create a beautiful and unique scrunchie that will stand out in your hair!
Ruby’s Tips & Tricks
Here are a few of our in-house tips & tricks for this fun DIY craft activity:
- When choosing yarn, make sure it's not too thick or too thin. A medium weight yarn is best for scrunchies.
- You can experiment with different stitch patterns to create your own unique scrunchie designs.
- If you don't have a tapestry needle, you can use a crochet hook or a small safety pin to thread the yarn through the stitches.
- Don't be afraid to mix and match colours and textures of yarn to create a one-of-a-kind scrunchie.
Making your own knitted scrunchies at home is not only a fun and easy project, but also a great way to add some personal style to your hair accessories collection. With just a few basic knitting skills and some simple materials, you can create your own unique hair ties that are both fashionable and functional.
Whether you prefer a classic solid colour or a bold patterned design, there are endless possibilities when it comes to knitted scrunchies. So why not give it a try and see what creative hair accessory ideas you can come up with? You never know, you might just discover a new passion for knitting and crafting!
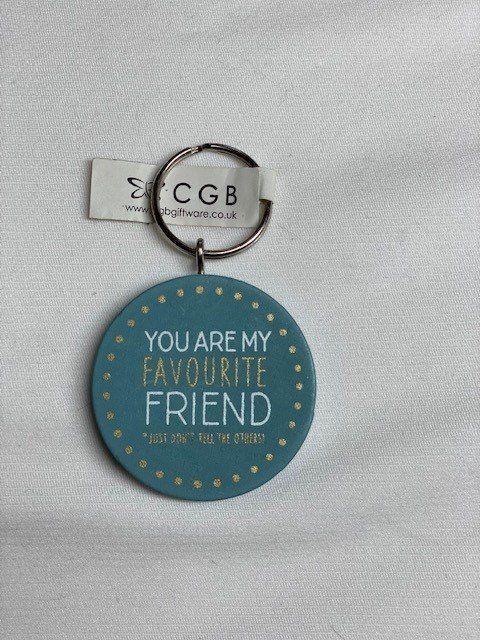
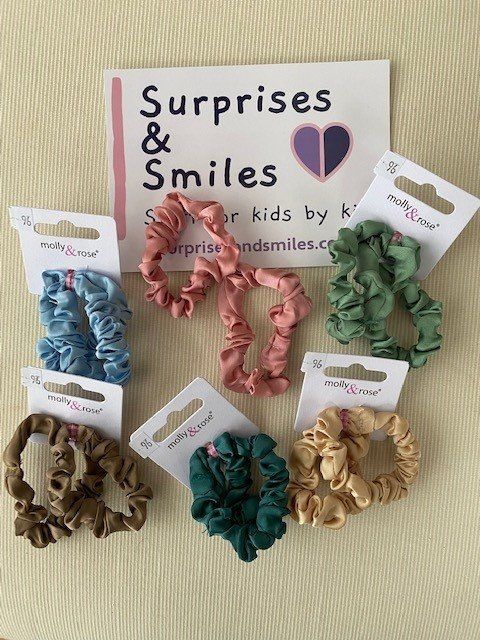
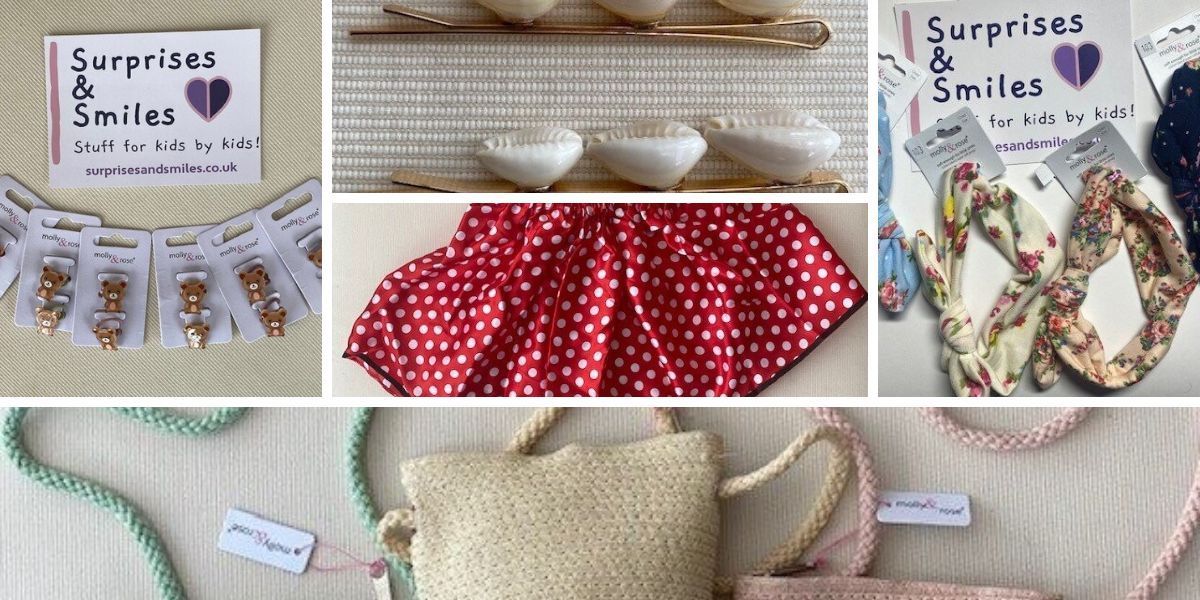
Shop Surprises & Smiles
If you're not up for the challenge of making your own handmade hair accessories, Surprises & Smiles has got you covered! Our online store offers a wide variety of pre-made knitted scrunchies, as well as other types of fun hair accessories, all at affordable prices. From crochet hair bands to knitted hair ties, we have everything you need to accessorise with style!
Our mission is to inspire and empower young minds to explore their creativity and express themselves through art and craft. So whether you're a seasoned crafter or just starting out, Surprises & Smiles is the perfect place to find your next
project. Shop now!