Easy DIY Hair Accessories You Need To Try At Home
Do you love hair accessories and DIY crafts? Then this blog is perfect for you! We’ll teach you 5 easy DIY hair accessories you can make at home.
Introduction
There’s nothing more fun than accessorising. Especially when it comes to your hair. There are so many ways to style your hair, with all sorts of
hair accessories like hair grips, hair bands, and even hair bows. But constantly buying new brand-name accessories can be expensive. That’s where DIY comes in and can just as easily generate a surprise and smile!
Crafting your own hair accessories is a unique way to do up your hair, while also spending your time in a productive way. Not to mention, it’s a great way to bond with your loved ones. So, if you’re ready to spend some time getting artsy with your parents, this blog is for you!
We’ll give you a few fresh DIY hair accessory ideas that are super fun and simple to do at home and can help you upcycle otherwise out of favour accessories. Let’s get crafty!
1. Designer Alligator Hair Clip
Alligator hair clips make a stylish and easy craft when lined with ribbon. The clip will still hold the hair properly without slipping out if you only line the top. To create very elegant DIY hair decorations, use a lined alligator clip as a base and glue on ribbons and flowers.
Steps:
- Get an alligator hair clip that your find comfortable.
- Measure it and cut a piece of ribbon/fabric accordingly.
- Line the top of your alligator hair clip with some glue.
- Stick the ribbon/fabric down and let it dry.
- Wear your new designer alligator hair clip with style!
2. Big Hair Bow
You can make an adorable oversized hair bow with just a little bit of cheap craft felt. You can use one colour, or even multiple to really make a statement. These bows work best attached to hair clips, fabric hair ties, or hair bands.
Steps:
- Get some craft felt sheets of your choice.
- Cut out the shape of a bow, size it according to your preference.
- If you want to make it multicoloured, you can cut a smaller bow shape in a different colour and stick it onto the bigger one.
- Get your hair clip/fabric hair tie/ hair band.
- Stick the bow you’ve just made to your hair accessory of choice of choice using craft glue.
- Once it’s dried, rock your new statement piece with a smile!
3. DIY Fabric Flowers
Alligator clips with linings can be decorated with fabric flowers. Fabric circles are used to create these lovely flowers, which are great for cleaning out your scrap bin. Add a crystal or beautiful button to the top of the hair clip. For the middle, you could alternatively use covered buttons. You can also stick these DIY fabric flowers to hair bands or attach them to fabric hair ties.
Steps:
- Cut out 6 circles from a piece of fabric of your choice.
- Fold these circles in half and sew around the curve using a running stitch (make sure to ask your parents for help with this!).
- Pull the folded circle together so it bunches up a bit.
- Repeat this process for the other petals (i.e. the circles).
- Once all the petals are intact together, tie them with a final stitch knot.
- Stick a little crystal or a button in the centre of your petals.
- Use a circle of felt to cover the bottom part of your flower.
- Stick your new fabric flower onto a hair band or hair clip of your choice.
- Flaunt your new fabric flower!
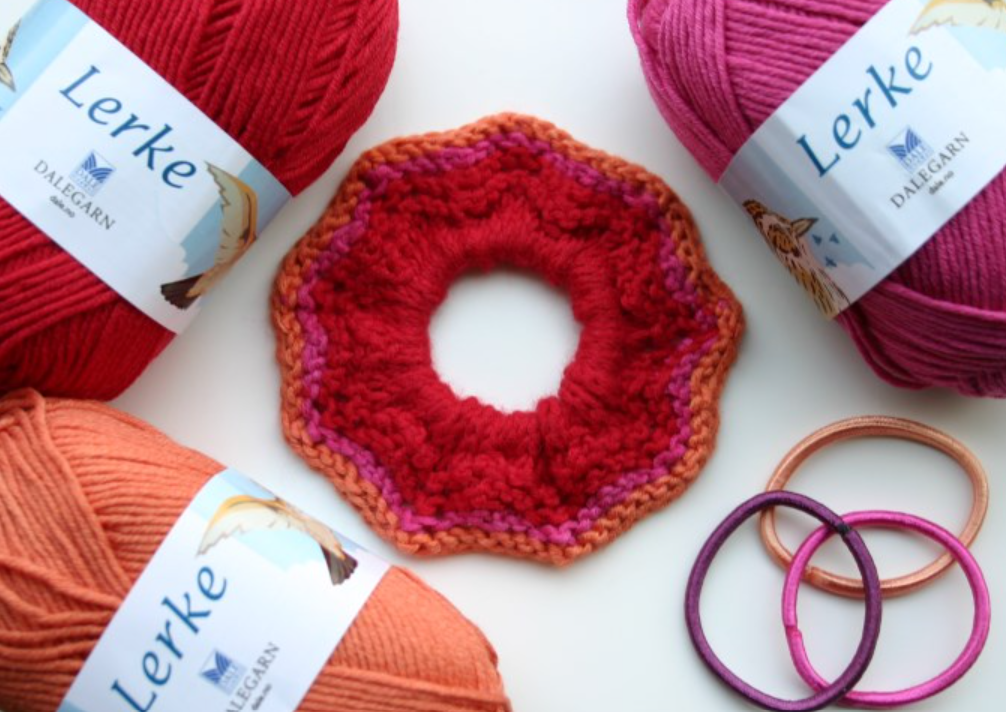
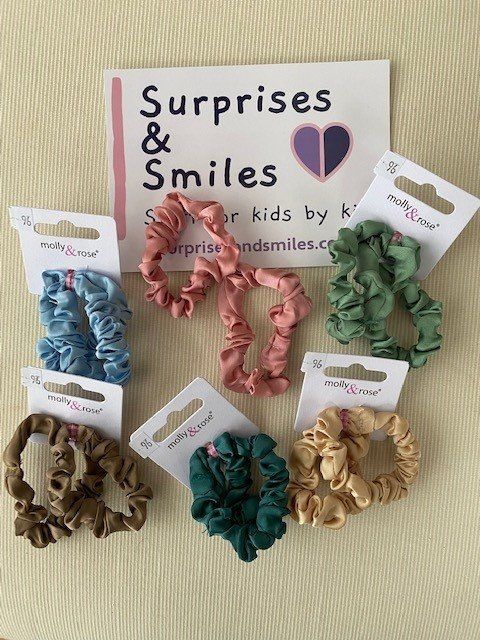
4. DIY Hair Scrunchies
Everybody enjoys scrunchies. They’re definitely making a comeback. In addition to being a chic DIY hair accessory, scrunchies prevent split ends because there is no visible elastic to tangle your hair. You can even adjust the measurements of your DIY scrunchie according to how thick your hair is.
Steps:
- Cut out a 22 x 3.5 inch rectangle from a fabric of your choice.
- Fold up one short end (½ inch).
- Then fold the entire thing in half with the right sides together.
- Stich along the longer edge.
- Turn it the right way outwards and press it to get that “scrunched” look.
- Now take a ¼ inch wide elastic and thread through about 9 inches of it using a safety pin.
- Overlap it and stitch the ends of the elastic.
- The raw edge end should be threaded inside the folded end and stitched by machine through all layers. You can also hand stitch it for a better finish.
- Your new scrunchie is ready!
5. Resin Hair Clip
Another amazing DIY hair accessory you can make at home is a resin hair clip. You’ll need to purchase a hair clip silicone mould and some epoxy resin. The best part about epoxy resin is that it’s durable and virtually unbreakable. You can also put things inside resin, such as a fond memory (flower petals, your pet’s fur, etc). However, you will definitely need parental assistance with this one. You’ll also need to make sure to wear a face mask and gloves while working with resin.
Steps:
- Mix your epoxy resin according to the ratio on the bottle. You can also use UV resin if you don’t want to wait a whole 12 hours for it to cure.
- You can colour your resin with pigment if you choose to.
- Take your silicon mould and fill it halfway with resin.
- Add something of your choice inside (flower petals, glitter, shells, etc.) Just make sure the item is completely dry and devoid of moisture so it doesn’t rot over time.
- Once you’ve added your goodies, put in a little bit more resin to fill the mould.
- Make sure your additives aren't popping out. Use a toothpick to push them down a bit if they float.
- Let the resin sit for at least 12 hours so it can cure (i.e. harden and dry up)
- If you’re using UV resin, take a UV torch and shine it over the resin evenly. It should take 2-5 minutes to fully cure.
- Once cured, demould your resin piece and stick it to a hair clip of your choice using UV resin or Araldite. You can even use super glue. Make sure to get your parents to help you throughout this process.
- Your new resin clip is ready! Wear it and flaunt it with pride :).
Ruby’s Final Thoughts
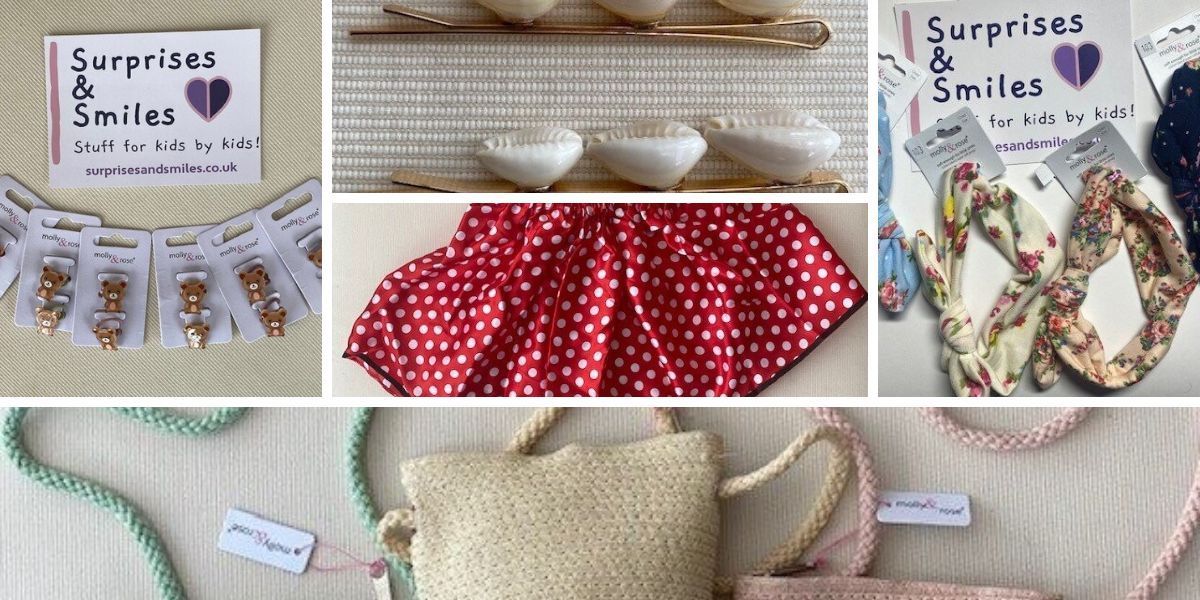
There you have it: 5 easy DIY hair accessories you can make at home to create a surprise and smile! If you love crafty hair accessories but don’t have the time to make them yourself, don’t worry! Surprises & Smiles has you covered.
Our little in-house craftmaster, Ruby, sells some of the cutest hair ties, hair bows, hair clips, hair bands, and much more. And she’s only now 11 years old! If you want to be a part of the surprises and smiles, you can visit our
online shop!