3 Simple Ways To Make A Knitted Scrunchie
There’s nothing like a good ol’ knitted scrunchie. But, why buy one when you can DIY one? Here are 3 simple ways to make your very own knitted scrunchie!
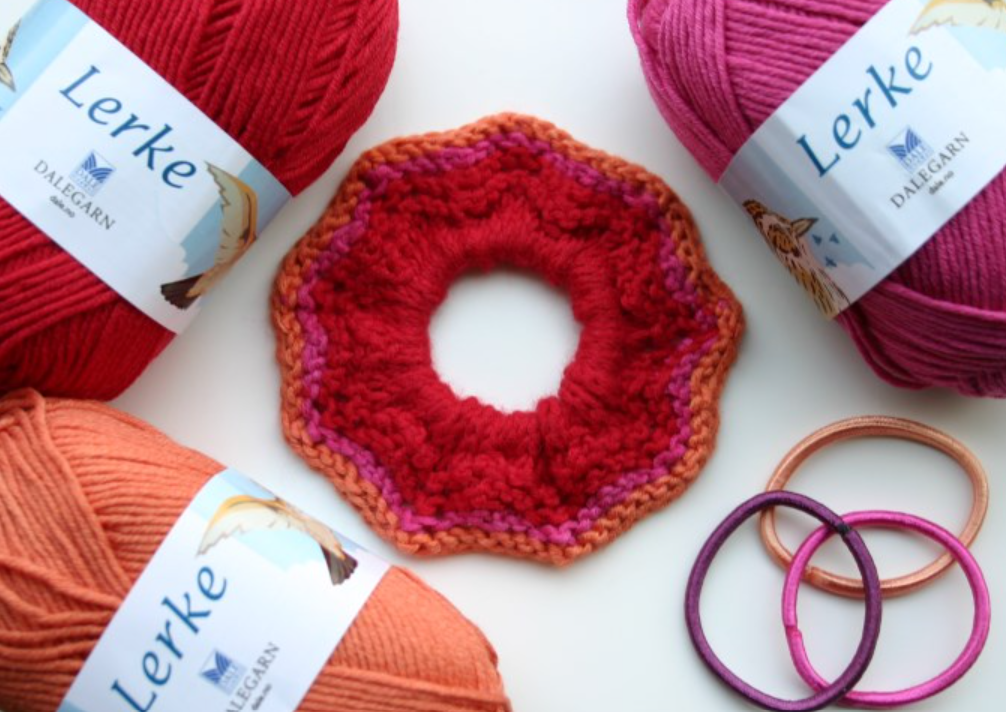
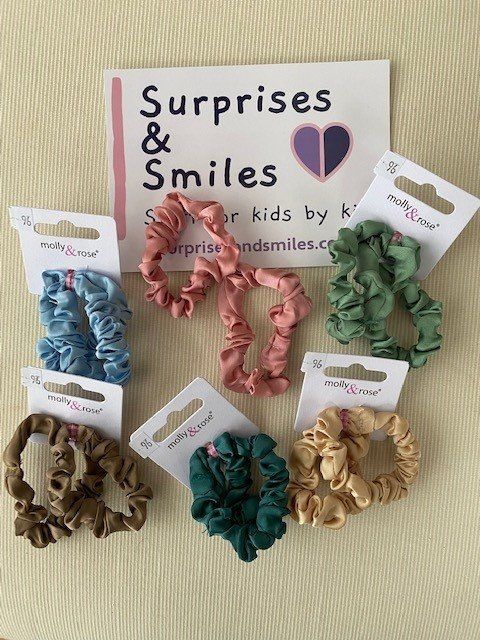
There’s nothing like a good ol’ knitted scrunchie. They’re making a comeback and it seems like everyone wants to get their hands on one these days. But, why buy one when you can DIY one? In this blog, I’ll teach you 3 simple ways you can go about making a knitted scrunchie using fabric hair ties and minimal seaming. You can also add variations to these to make scrunchies with tails, and more. Let you imagination run wild! If you’re simply too busy to make these knitted scrunchies yourself, you can always visit my online shop here at Surprises & Smiles. I have many adorable
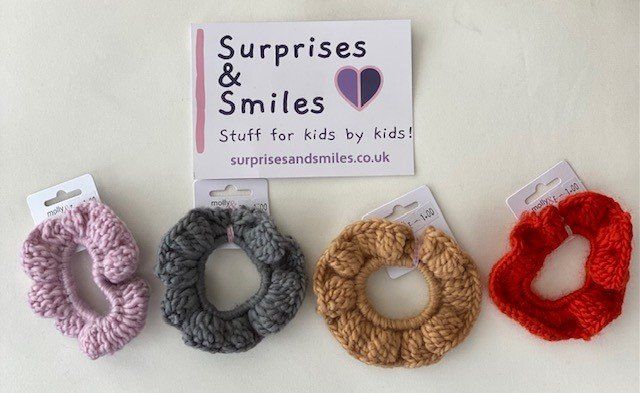
knitted scrunchie designs for you, including
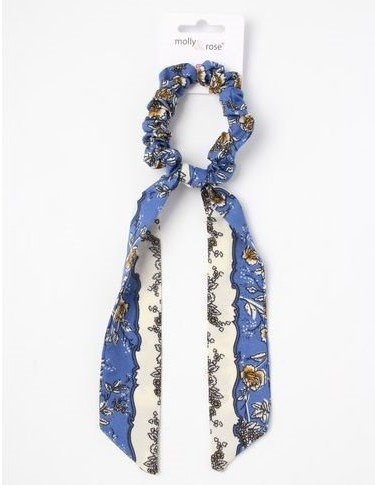
scrunchies with tails and more
Flat Knitted Scrunchie
The flat knitted scrunchie method is by far the easiest one. You can use pretty much any stitch pattern you’re comfortable with to design it. Here’s how:
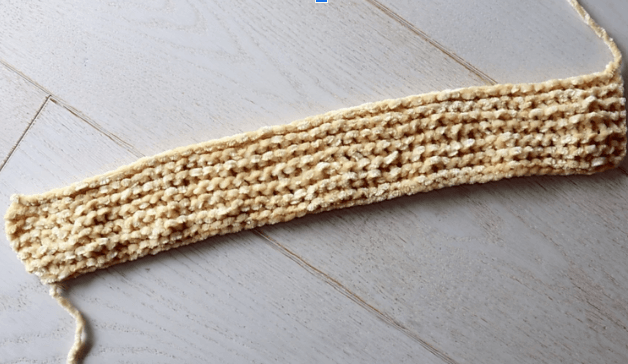
- Create a crochet piece that is 15 inches (35 cm) long and 3 inches (8 cm) in height. You can use any colour you like and whichever stitch pattern that suits you.
- To create a garter stitch scrunchy, just knit every stitch. Cast on 47 stitches and knit 20 rows at my gauge using Bernat Velvet and US 8 (5mm) knitting needles.
- Next, bury your hair tie inside as you sew the cast-on edge to the bind-off edge.
- And, voila! You’re done. It really doesn’t get easier than this.
Using A Fabric Hair Tie Round
This one’s a little harder than the flat method, and can be quite fiddly. Don’t let that intimidate you, however, as this method is still perfect for beginners! All you need to do is knit a thin tube around your fabric hair tie and join the round to encase the hair tie in. That way, it’s seamless and you don’t need to worry about your hair tie poking out through the yarn. Here’s how:
- Use the “magic loop” method, but its not recommended for beginners. DPNs (Double-Pointed Needles) are required for this method because they give you a larger range of control while knitting.
- Start by stitching how many ever stitches it takes you to reach 4 inches. If you’re using Bernat Velvet yarn and 6mm needles, it’ll be approximately 9 stitches.
- Now, make sure to evenly divide the stitches on your needles and put the hair tie in before joining the round.
- Then all you have to do is continue knitting in the round as you usually would. Make sure to shimmy the fabric hair tie around to avoid it getting trapped in a row – it needs to dangle loosely.
- Using the “in the round” method, you have full control of the scrunchiness of your scrunchie. Just keep knitting till you get the desired look, and once that’s done, seam the bind off and cast on edges together!
- And there you have it! A fabulous new DIY scrunchie.
A More Unconventional Approach
This method is a little different from the rest but be assured, it works really well and is simple enough for beginners. Here’s how to go about it:
- Cast an odd number of stitches (if you’re using 6mm needles and Bernat Velvet yarn, around 51 stitches will do).
- Row 1: *K1, sl 1 pw wiyf* rep to end of row
- Row 2: *P1, sl 1 pw wyib* rep to end of row
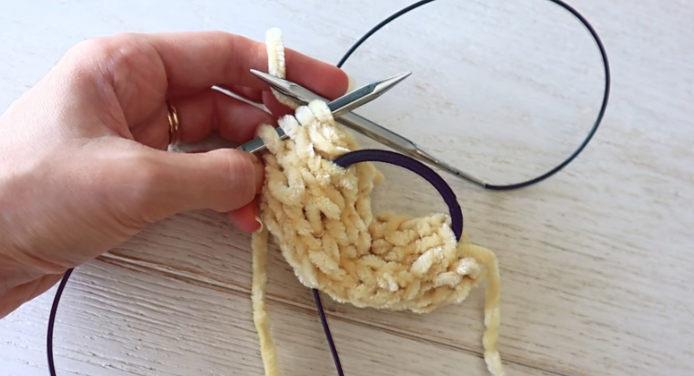
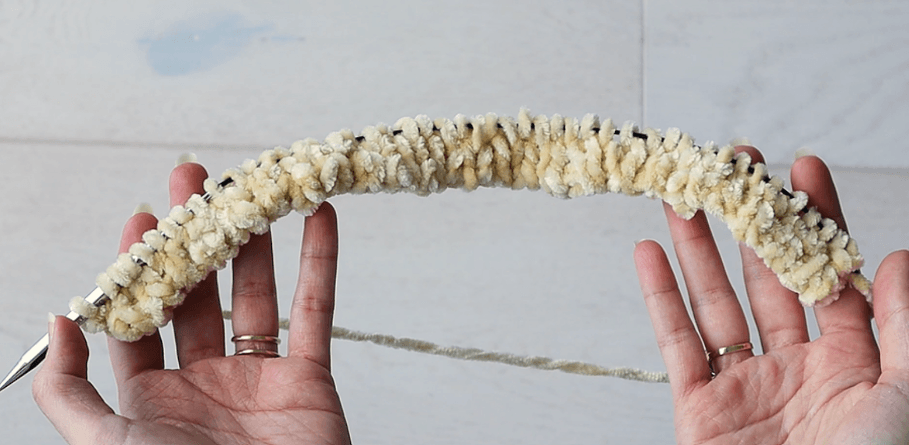
- If you follow the above pattern, and repeat it for 7 rows, you’ll end up with a tiny tube! Almost seems like magic, but it’s totally doable (as you can see in the reference images below).
- One you’ve reached row 8, you can go ahead and add your hair tie.
- For row 8, just *p1, put your hair tie on the left needles, s1 pw wyib, slip hair tie off needle and repeat to the end of the row. This should bury your fabric hair tie inside the knitted tube.
- Then, just bind off and seam the sides to seal it in.
- And you’re done! How do you like your new experimental scrunchie?
Ruby’s Final Thoughts
There you have it! 3 simple ways to make a knitted scrunchie. I hope this blog helped you on your DIY journey. If you’re simply too busy to make these knitted scrunchies yourself, you can always visit my online shop here at Surprises & Smiles. I have many adorable knitted scrunchie designs for you, including scrunchies with tails and more.. Visit my shop to join in on the Surprises & Smiles!
